1965 Starfire VI Reclamation Project

Jahn

Senior Member
Joined
Feb 1, 2007
Messages
1,932
Reaction score
64
Location
NYC
tiny update - really tiny, as in new trussrod cover screws and long screws for the bridge pickup mounting ring. the trussrod cover as expected kinda rests on top of the trussrod nut since the nut isn't flush, it pokes above the headstock face. but just a bit, and both screws still secure the cover fine - if it ever rattles though, i'll put a rubber spacer in there for the bottom screw.

HS.jpg


As for the bridge pickup mounting screws, I realized my very first mea culpa in this whole affair - the two long screws i put in there before were a bit wide and long, so as a result the two screws that properly replaced those don't "grab" the wood cleanly - i need to be really careful not to push it further or i'll consider those holes "stripped." the other two screwholes are fine, the new screws purchased nice and tight in there. So as a whole, the ring is nice and secure, and no screws will fall out. I decided to keep the neck pickup screws holding the mounting ring in there now, because i found four old period correct screws to go there. yeah, reliced in the neck ring, shiny in the bridge ring, but since they are nickel they'll dull and get nasty eventually, unlike chrome.

hs2.jpg


Looking at this pic, I realized that i can use the files i'm going to use on the nut, to also groove the bigsby bridge. works, since it'll be the same file used for both ends per string, and steel files can shave down an aluminum bridge no prob. that'll do until the TRU-Arc comes.
 

Jahn

Senior Member
Joined
Feb 1, 2007
Messages
1,932
Reaction score
64
Location
NYC
Well it looks like it's all waiting at home - that multimeter to test ground that i don't need now (never hurts to have one around i guess), the nut files, the krazy glue, the this and the that. the only thing stopping the Starfire from being fully up to spec now is my ability, and i guess the pickguard, which i'll probably get someone else to do. I mean, i have a hacksaw, but what am i going to do, just saw into a pickguard? plus i have no pickguard bracket, so maybe i'll just wait on that whole idea for a while - the guard gets in the way anyhoo i find.
 

Jahn

Senior Member
Joined
Feb 1, 2007
Messages
1,932
Reaction score
64
Location
NYC
i did it. i am BEAT. but it worked! i did everything - nut, bridge, intonation and set up - it sounds and plays great and is dialed in just how i like it! I'll post more about it in a bit, but for now here's the part about repairing the nut using LTG's baking soda trick:

http://thegenerationofmusic.wordpress.c ... few-bucks/
 

Jahn

Senior Member
Joined
Feb 1, 2007
Messages
1,932
Reaction score
64
Location
NYC
And here's the rest. Man I am BEAT but time to post the finish line.

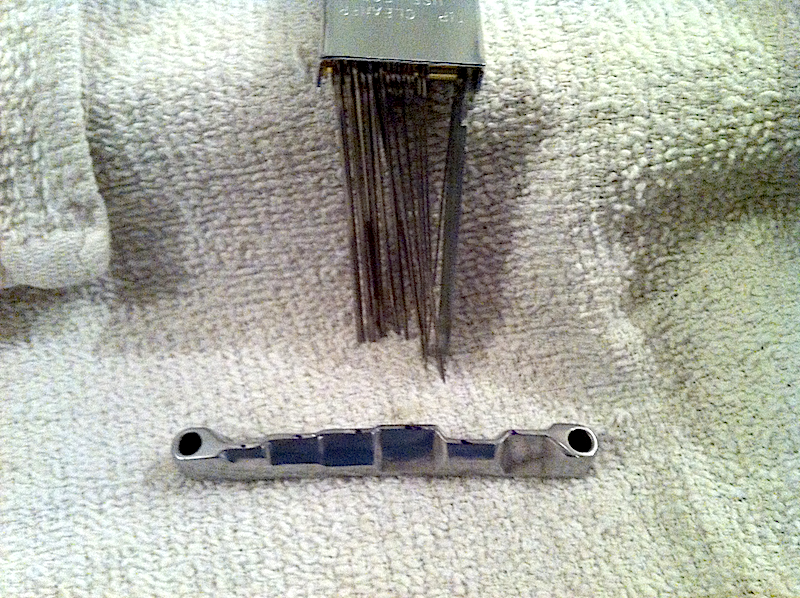
Mark the spot where the strings should be on the bridge using removable ink. I like the strings to pass right over the bridge pickup poles. Then remove the bridge, and get ready to file:

sf1.png


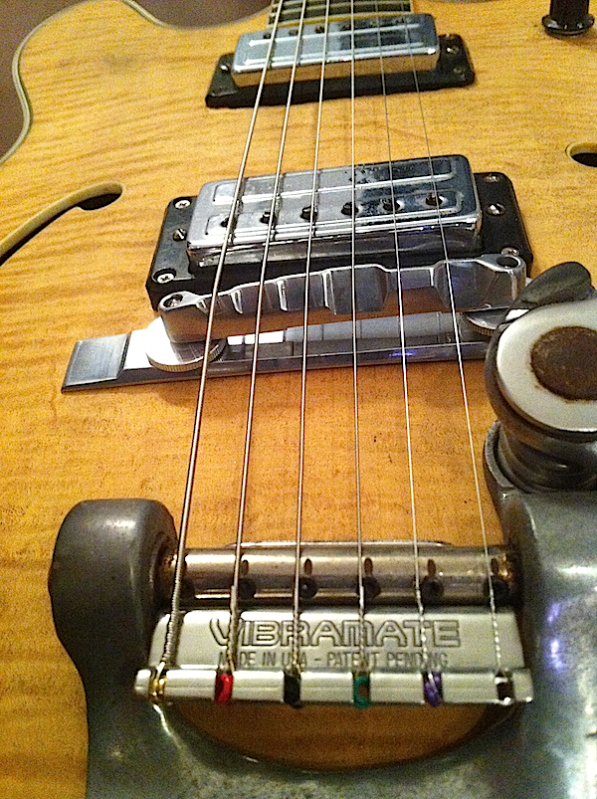
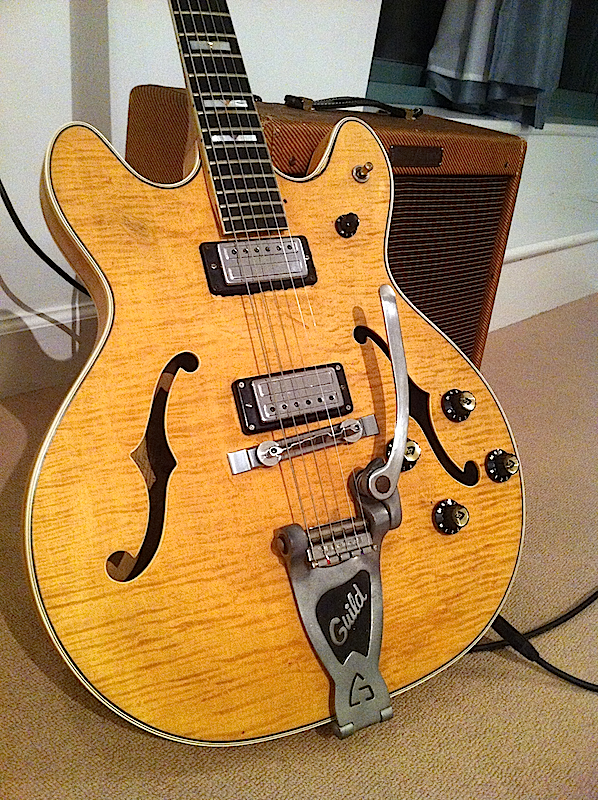
Done. Now pop it back on the guitar. Since you filed them down, the strings ride a little too low now, so raise that bridge. Also, after the pic below, I cranked the pickup covers down lower, and raised the pickup poles so each string has the same volume.

sf2.png


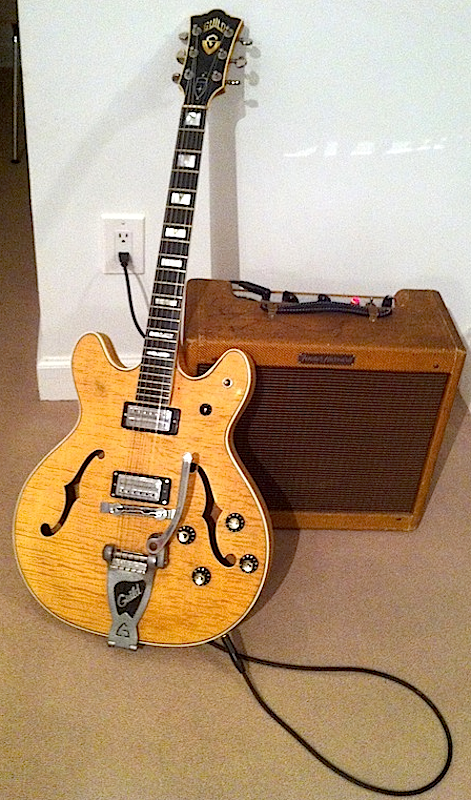
Getting the nut and bridge and pickup height and pole height all dialed in just right took plenty of turns of a screwdriver and swipes with the welder files, but i finally got there. still pings just a bit at the nut for a few strings, but not a dealbreaker. Fired it up with my Fender Harvard, and YEAH this really was the sound I was missing!

sf5.png


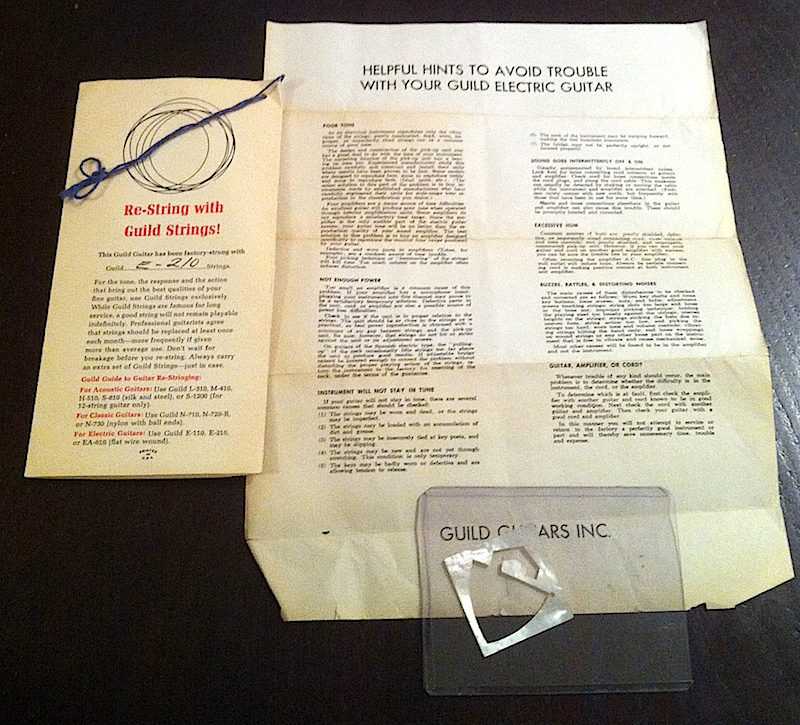
Oh by the way, just some case candy I accumulated here and there, I always figured it to be Starfire VI-appropriate, so now they're stashed with the right guitar. LTGers might remember that mother of pearl cutout, Hans sent them out after getting them from Carlo Greco:

sf3.png


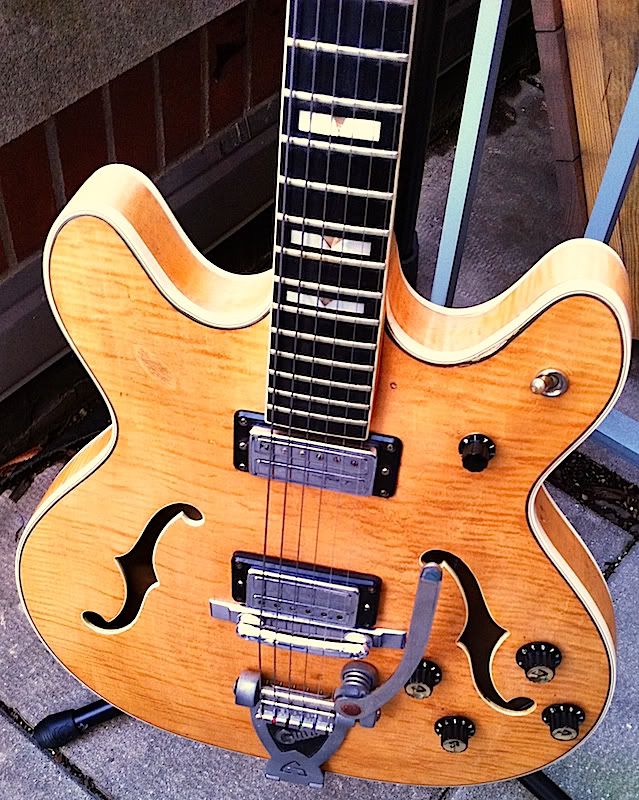
So there you go. All Done except for the pickguard, and like I said before, that's definitely beyond me to tackle, and actually i kinda like it off anyhow. Kinda looks cool this way, right? Thanks for the advice and support all!

sf4.png
 

Ravon

Senior Member
Joined
Apr 8, 2011
Messages
1,939
Reaction score
0
Location
Kaintuck
Beautiful job, congratulations! I personally like the pickguards on :)
 

Jahn

Senior Member
Joined
Feb 1, 2007
Messages
1,932
Reaction score
64
Location
NYC
you know i like it better with the unwound 3rd, but with the heavier .11s on there, it actually intonates nicely and has no bigsby pops and stuff. it is REALLY dialed in now, i'm groovin' on it! thanks to LTG's subforum for the inspiration to tackle it!
 

bluesypicky

Enlightened Member
Joined
Sep 8, 2009
Messages
7,763
Reaction score
394
Location
Jupiter, FL.
Yummy!! As far as the pick guard, I would be okay with leaving this flamed maple exposed if it were mine..... :D
 

Geo

Senior Member
Joined
Aug 26, 2011
Messages
2,122
Reaction score
2
Location
Texas
Beautiful,,,, no pickguard required! :mrgreen: :mrgreen: :mrgreen: :mrgreen: :mrgreen:

George
 

dapmdave

Enlightened Member
Joined
Mar 18, 2009
Messages
7,612
Reaction score
24
Darryl Hattenhauer said:
What a coincidence. Those are the same files that Rosie uses on my nuts.

:lol: :lol: :lol: :lol:
But they're so small!

Dave :D
 

Jahn

Senior Member
Joined
Feb 1, 2007
Messages
1,932
Reaction score
64
Location
NYC
Thanks! I like it even more now with flat wound chrome .011 strings on there, and I got more matchy with all the mounting ring screws so it all balances visually. Still waiting on the true arc bridge. The nut was a bit low for two strings so I refilled those slots and all is well. Still binds a bit there, have to reapply some nut sauce. There's always something!
 

Treem

Senior Member
Joined
Jan 30, 2009
Messages
4,097
Reaction score
50
Location
Tempe
Guild Total
8
Great Beautifully Done, Jahn! Stunning Looking Top!!! :shock: 8) :mrgreen:
 

Jahn

Senior Member
Joined
Feb 1, 2007
Messages
1,932
Reaction score
64
Location
NYC
Thanks all! I read up on nut filing and found out why the strings were binding at the nut for the 3rd and 4th strings - those are the strings with the most acute angles coming out of the nut towards the posts. So what you do is round off those corners a bit so the string upon exiting the nut has a less severe exit angle, and bingo - no more binding! Tried it tonight and what do you know, doesn't even bind anymore under severe bigsby waggle or tuning up/down. Gives me confidence to try this on a few other nuts that bind on some of my other guitars. Knowing is half the battle!
 

Jahn

Senior Member
Joined
Feb 1, 2007
Messages
1,932
Reaction score
64
Location
NYC
Last update because this one is dialed IN. I sourced the right screws for all the pickup rings and height adjusting stuff. The TRU-Arc aluminum bar bridge came today, and it popped right on the bigsby aluminum base no prob. I thumbwheeled it down a bit to get it back into the sweet spot for action and intonation, and with the bridge base where it should be, I marked it with painter's tape, took the base off, put some double sided tape on the bottom, then stuck it back on. Reversible pinned bridge, complete! Also took the chance to pin it slightly towards the base side to give my high E string more space before it hits the edge of the fretboard, plus I use my fretting thumb a lot, so that helps. No more slip and sliding bridge action. So without further ado, the final shots!

SFVIOut.jpg


SFVIo.jpg
 
Top