AHG octave mando build

AcornHouse

Venerated Member
Joined
May 22, 2011
Messages
10,356
Reaction score
7,652
Location
Bidwell, OH
Guild Total
21
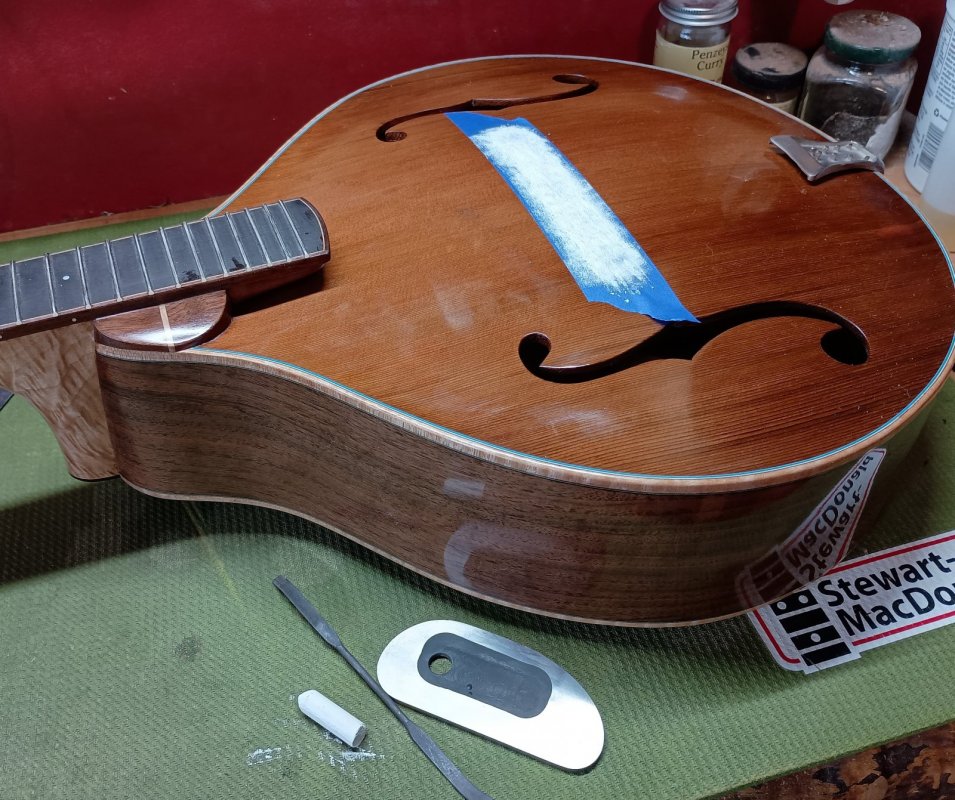
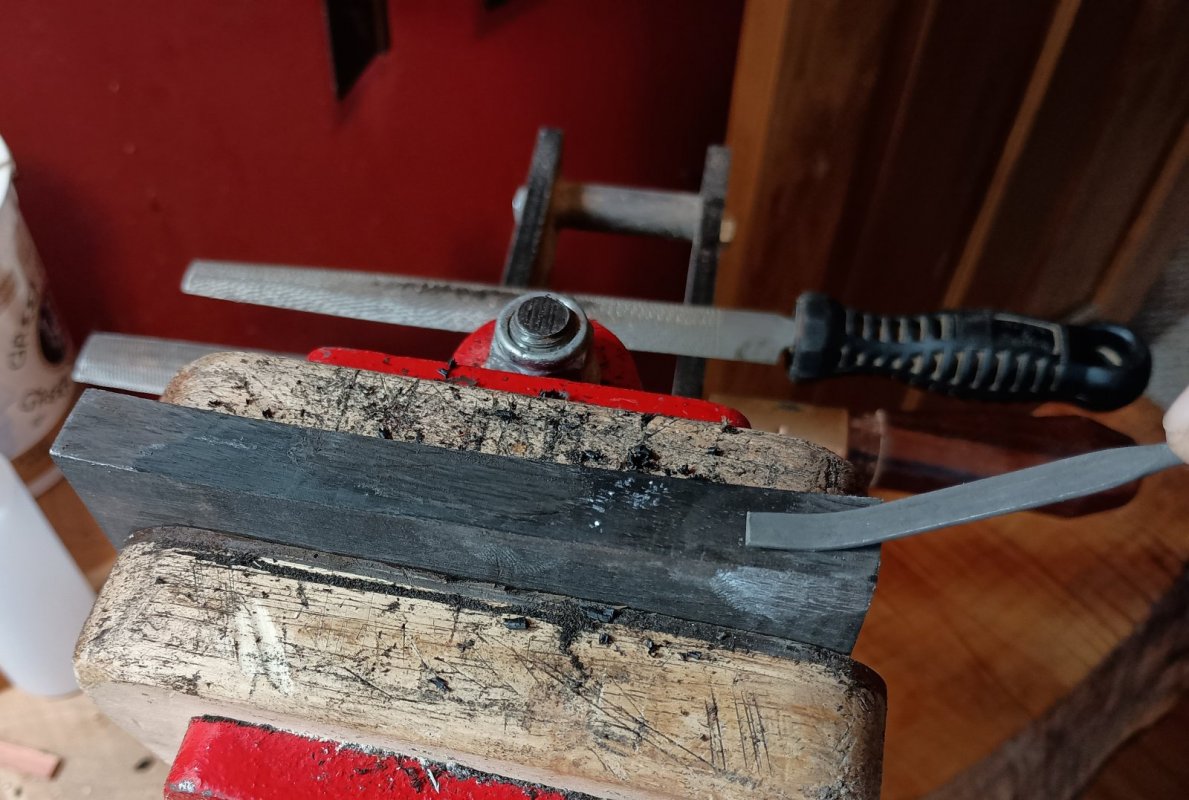
Time to cut into this ebony and get to work on the bridge.

IMG_20240305_133045092.jpg
 

AcornHouse

Venerated Member
Joined
May 22, 2011
Messages
10,356
Reaction score
7,652
Location
Bidwell, OH
Guild Total
21
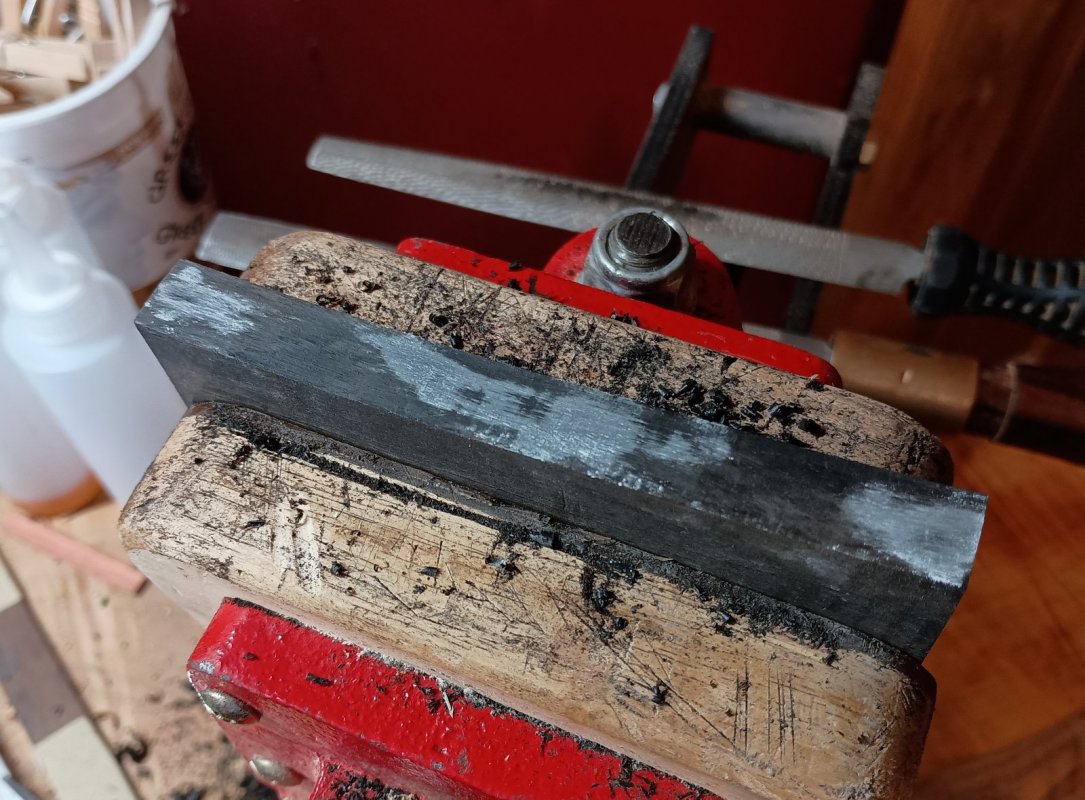
Getting the bridge bottom shaped close to the archtop. Once it's fitting close enough I can find tune it.

Not my favorite job. I'm still working at finding the best method. Right now the thick scraper (lower left on the bench) is the tool that's working best for me.

IMG_20240305_145214004_HDR~2.jpg
 

AcornHouse

Venerated Member
Joined
May 22, 2011
Messages
10,356
Reaction score
7,652
Location
Bidwell, OH
Guild Total
21
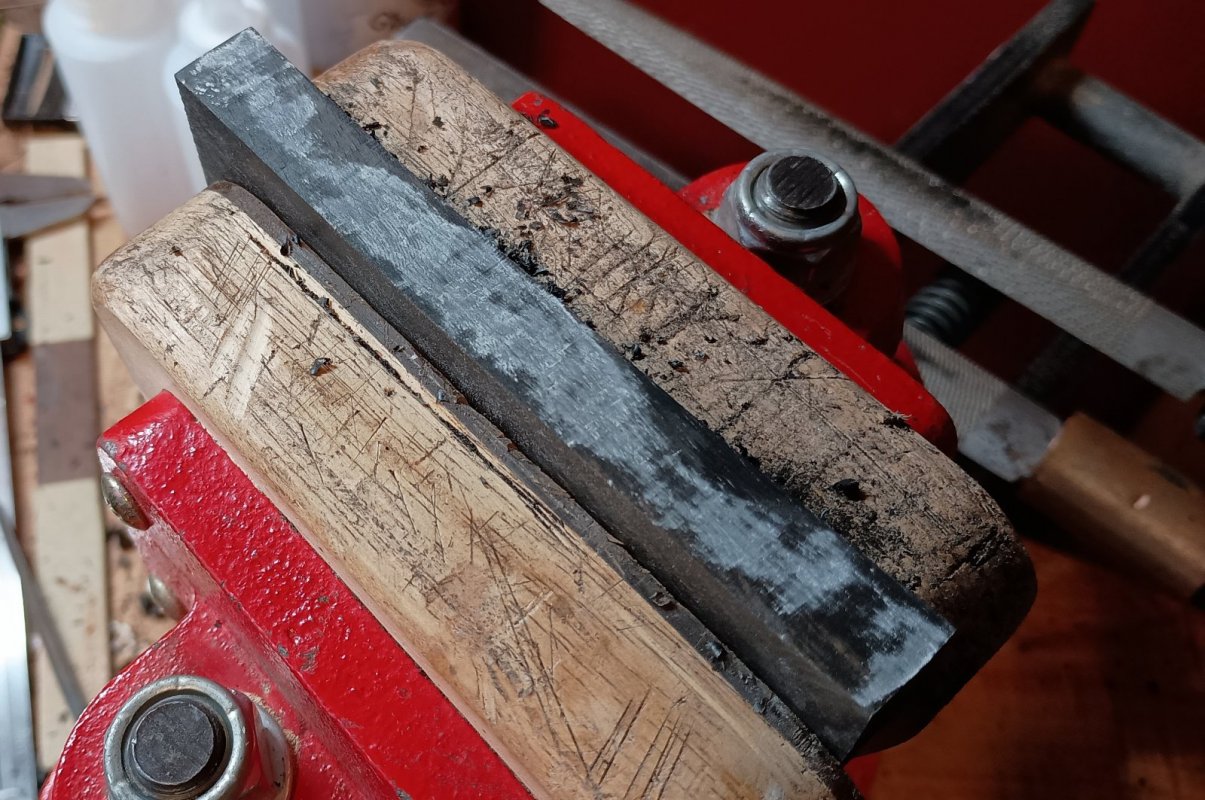
Got a decent rough fit yesterday. Today I'll chalk up* some tape and refine the fit.


*(Rub chalk on a piece of tape in the bridge position and see where the high spots are. Rinse, lather, repeat until there is uniform chalk over the whole of the bridge base.)

IMG_20240306_083747797_HDR.jpg
 

AcornHouse

Venerated Member
Joined
May 22, 2011
Messages
10,356
Reaction score
7,652
Location
Bidwell, OH
Guild Total
21
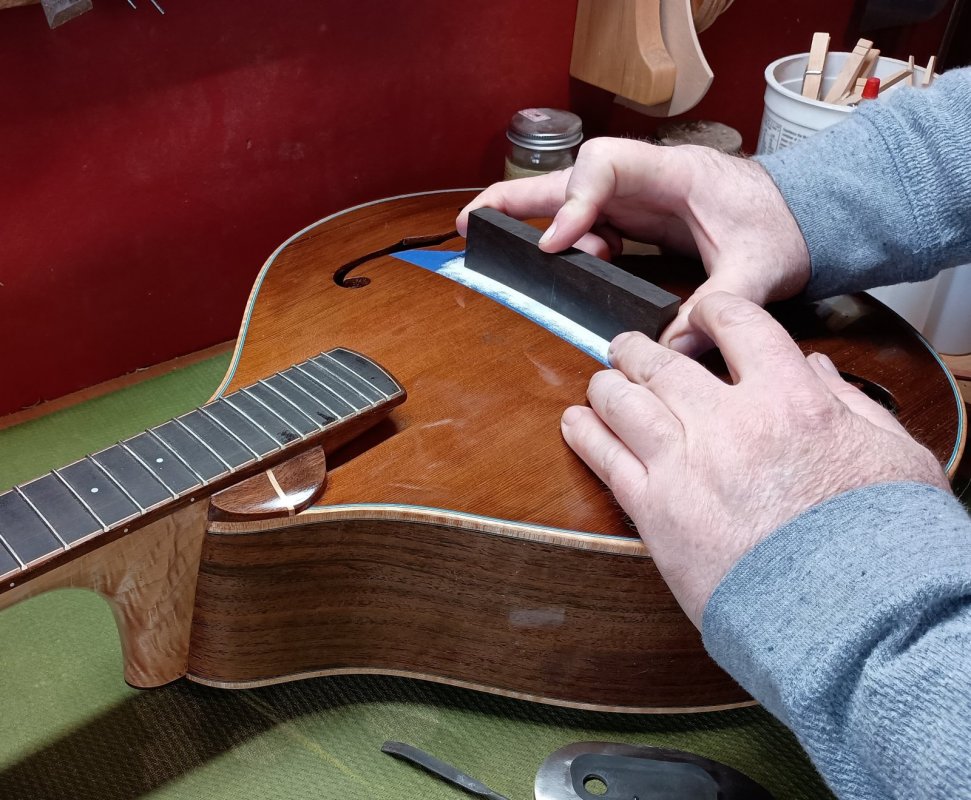
Not yet finished fitting the bridge (it seems to go glacially slow sometimes), but here's some procedural shots while I take a break.

A piece of low tack tape is laid at the bridge location and liberally covered with chalk.

IMG_20240306_110710705~2.jpg

The ebony is set carefully in position and, pressing firmly, is rubbed back and forth ever so slightly, no more than a couple of millimeters.

IMG_20240306_110749325~2.jpg

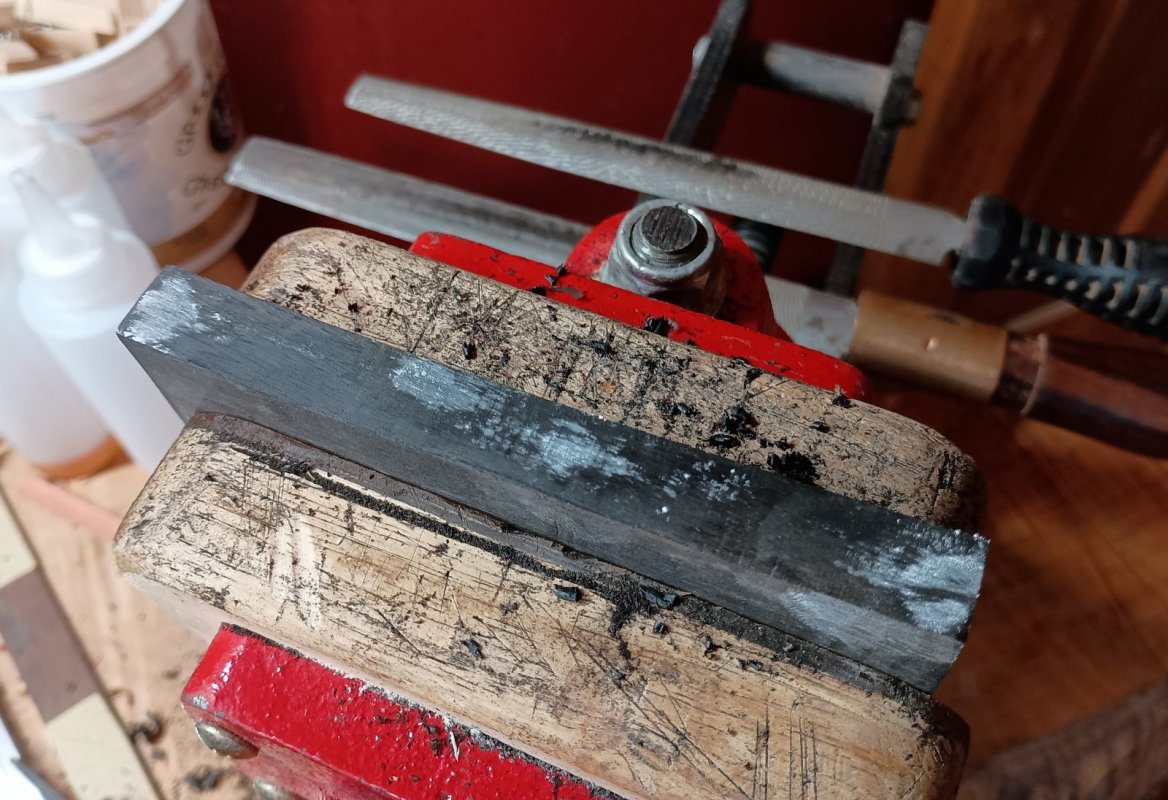
This leaves chalk marks at the high points.

IMG_20240306_110834600~2.jpg

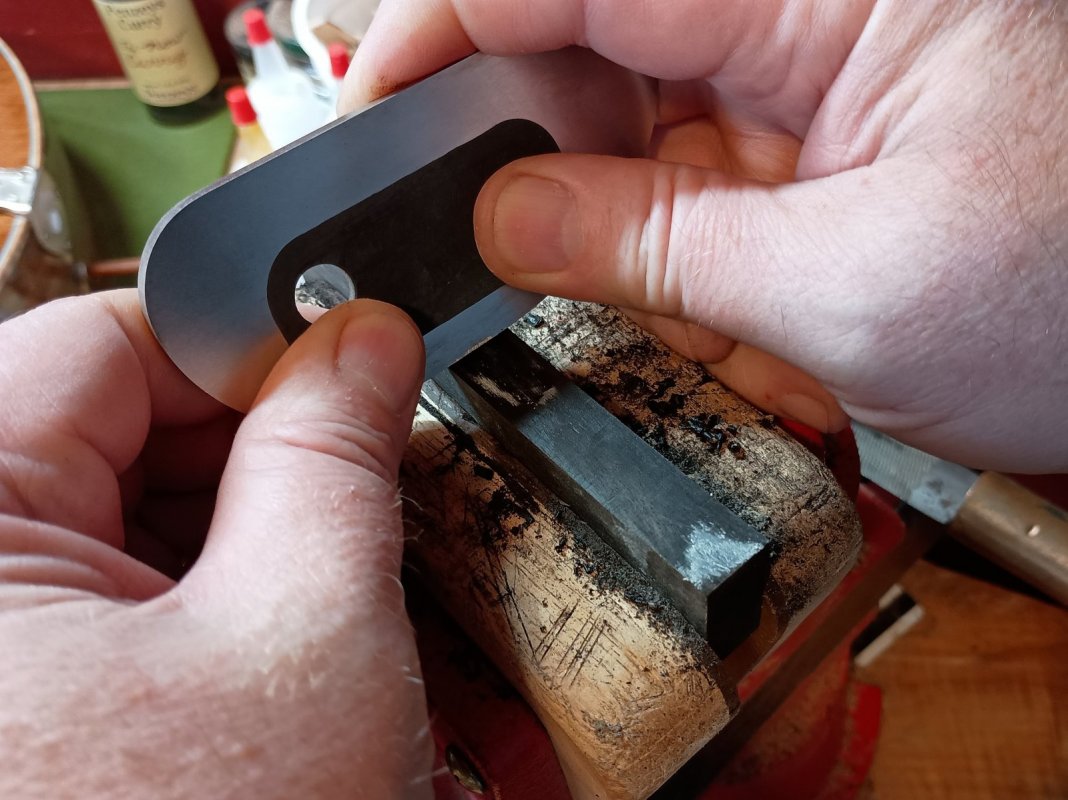
The high points are brought down in small increments, using the thick scraper...

IMG_20240306_111740046~2.jpg

...or the fine riffler file. I'm finding the riffler (one of the more obscure villains from the Batman TV series, who got, unfortunately, cut out) works best at the end while the scraper is best in the middle parts.

IMG_20240306_110954328~2.jpg

Then repeat. The chalky high points should get bigger and bigger, until it's all chalk covered, at which time it's done.

IMG_20240306_112526755~2.jpg
 

AcornHouse

Venerated Member
Joined
May 22, 2011
Messages
10,356
Reaction score
7,652
Location
Bidwell, OH
Guild Total
21
So close. This is one of those intense activities, mentally. When I find myself starting to lose focus, it's break time.

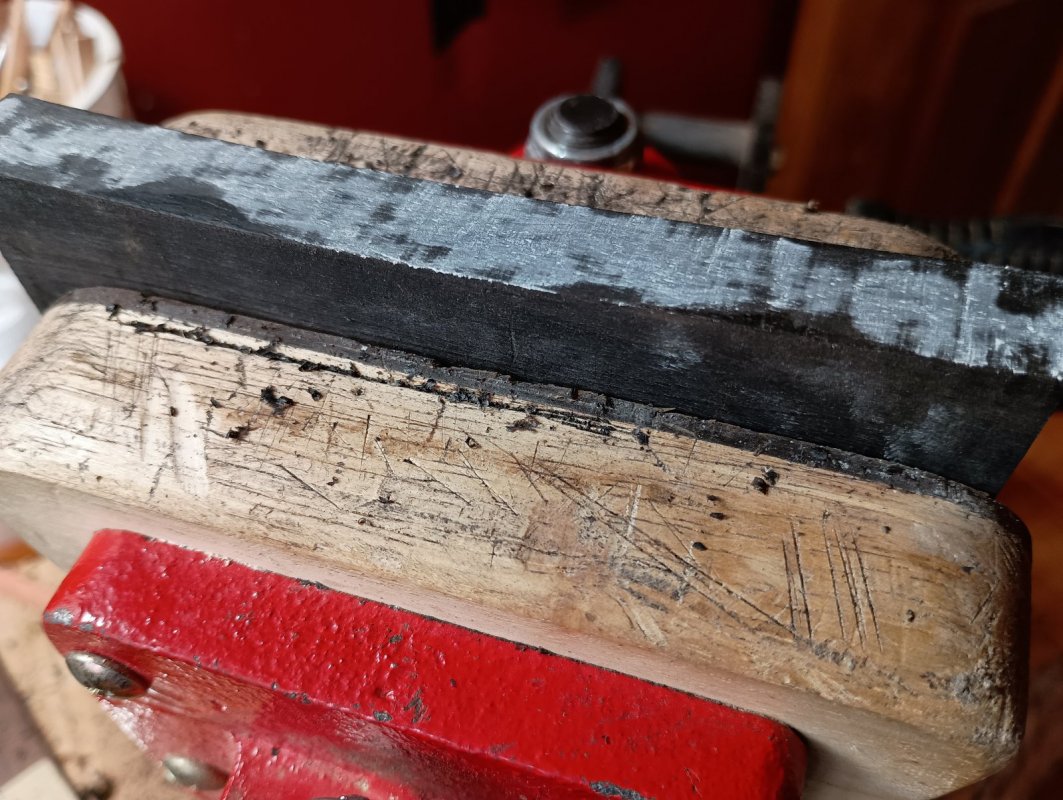
It's all scraper now, which can take very precise, small, shavings. It's curved side can touch only where there's chalk.

IMG_20240306_131337050~2.jpg

IMG_20240306_132131023~2.jpg

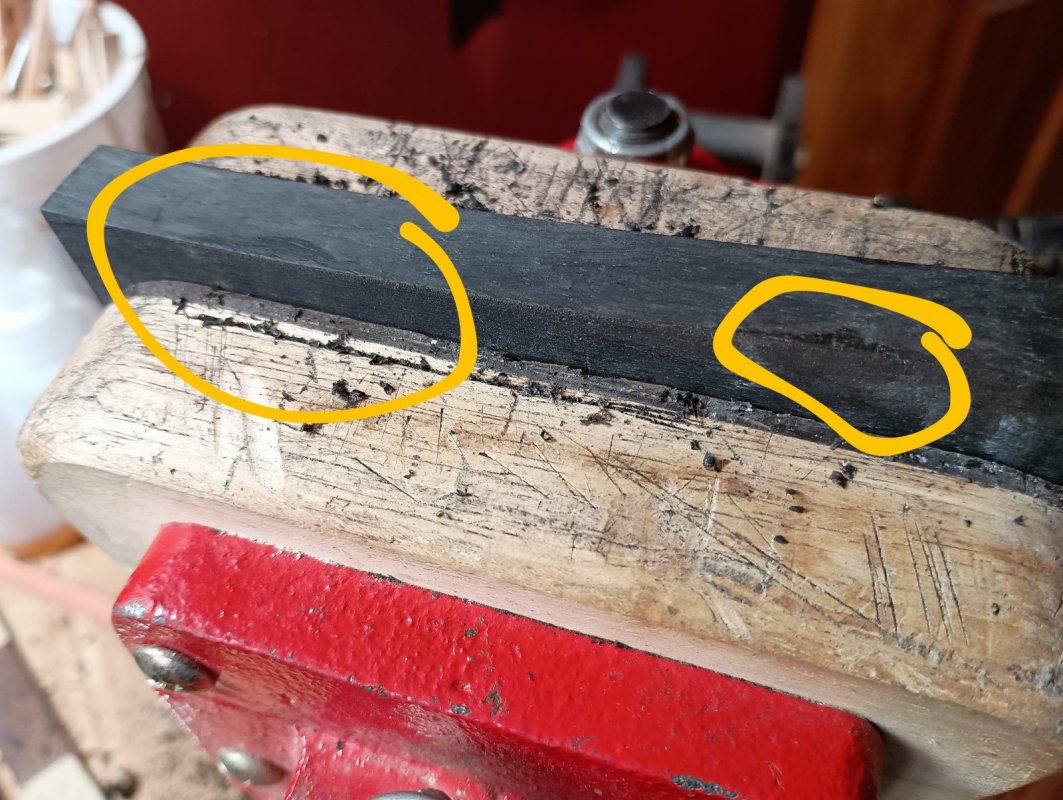
Even without the chalk, now that it's getting down to the end, you can more easily see the bits that are still low. (Which I've circled for you in Patronizing Yellow.)

IMG_20240306_132651035~2.jpg

But I'll still continue with the chalk to hone the surface, avoiding any micro hollows.

IMG_20240306_132832097.jpg
 

AcornHouse

Venerated Member
Joined
May 22, 2011
Messages
10,356
Reaction score
7,652
Location
Bidwell, OH
Guild Total
21
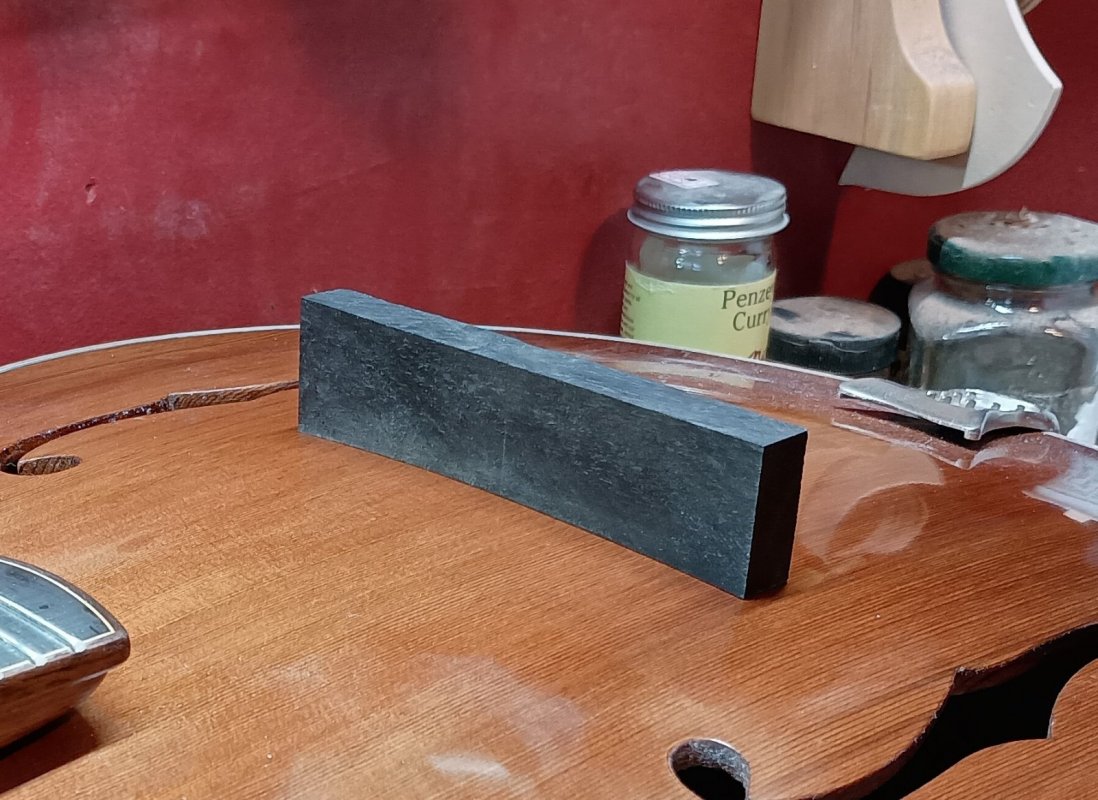
I finished up with a little sticky backed (somewhat de-sticked) 400 grit sandpaper to get the final bottom surface. Now there's nice solid contact along the whole base for maximum vibration transference. (And now you see why most mass produced archtops use a bridge design with a gap in the middle. Far less labor intensive to fit.)

IMG_20240306_160224080~2.jpg

Now for the fun bit. Designing and carving the rest of it.
 

AcornHouse

Venerated Member
Joined
May 22, 2011
Messages
10,356
Reaction score
7,652
Location
Bidwell, OH
Guild Total
21
The bridge has undergone a little weight reduction surgery. When you hit the right design, you just know it.
It'll get a bone saddle on top after I determine the string intonation. I won't rout the saddle slot until then. Then I can do the final contouring, getting things rounded and smooth.

IMG_20240308_142549998~2.jpg
 

AcornHouse

Venerated Member
Joined
May 22, 2011
Messages
10,356
Reaction score
7,652
Location
Bidwell, OH
Guild Total
21
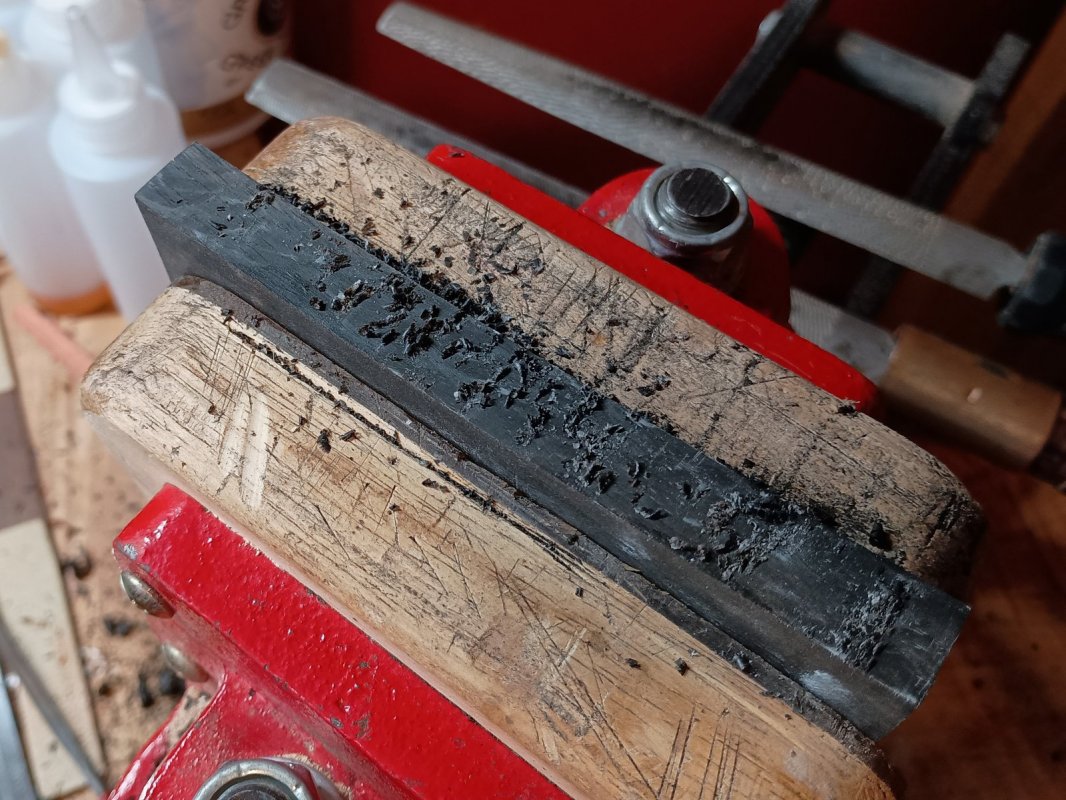
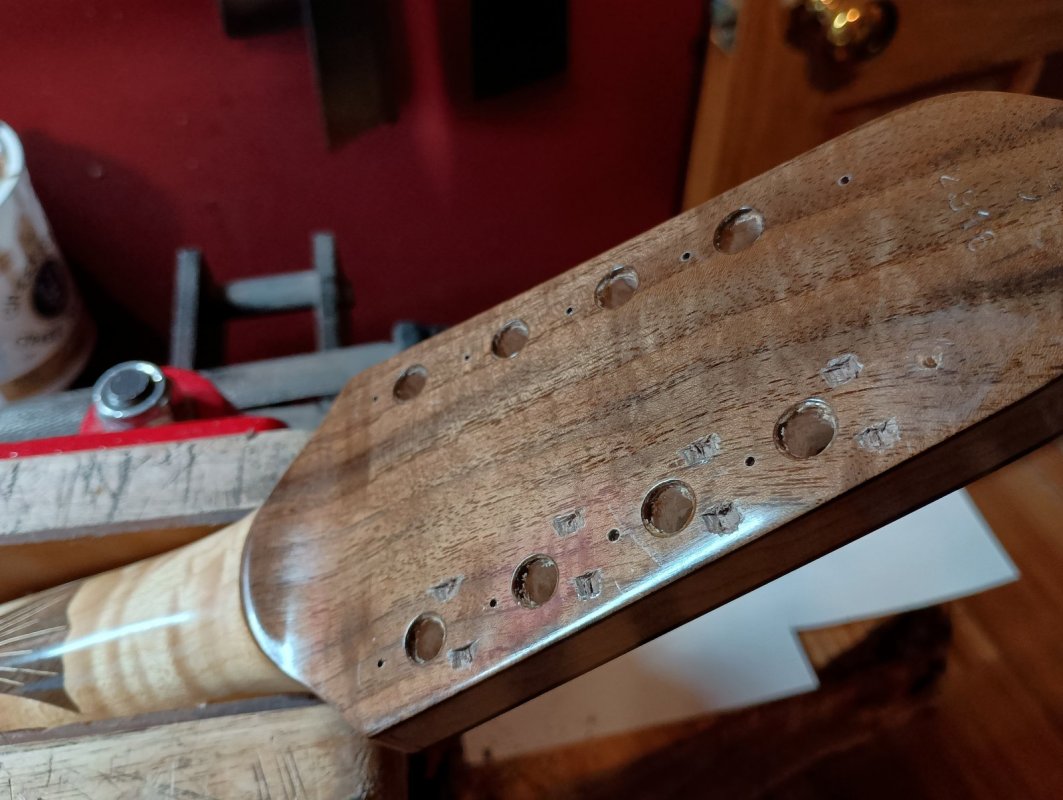
Instrument making ain't always pretty.
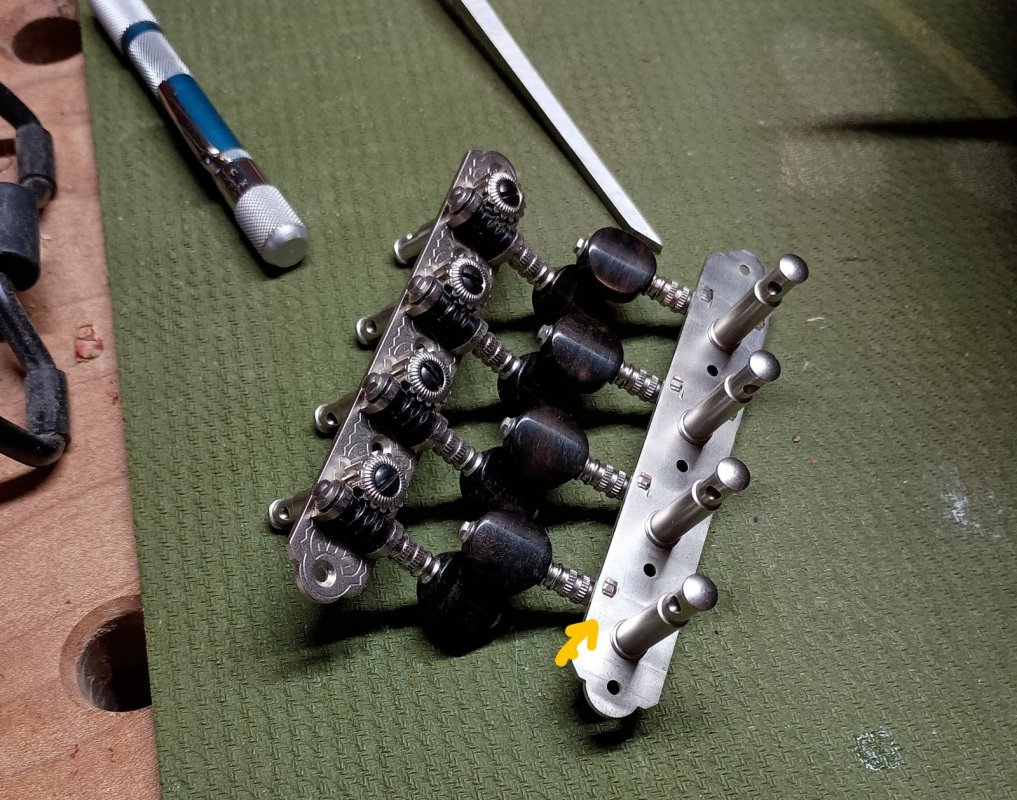
The one thing I don't like about Rubner's tuners is that for the posts that hold the screws, they use a wedged tenon design that leaves tiny nibs sticking proud of the surface. A very traditional method that, when dealing with a softer wood like Spanish cedar or even mahogany, isn't too big of an issue.

IMG_20240309_111024698~3.jpg

But when you have a backplate of walnut, it's a problem. They don't seat all the way down. Which requires a little delicate, but ugly, chisel work, all hidden by the back plate.

IMG_20240309_111101751_HDR.jpg
 
Top