You are using an out of date browser. It may not display this or other websites correctly.
You should upgrade or use an alternative browser.
You should upgrade or use an alternative browser.
AHG octave mando build
- Thread starter AcornHouse
- Start date
AcornHouse
Venerated Member
Yikes, I didn't see that one coming. ...
I did. Wasn't looking forward to it.
AcornHouse
Venerated Member
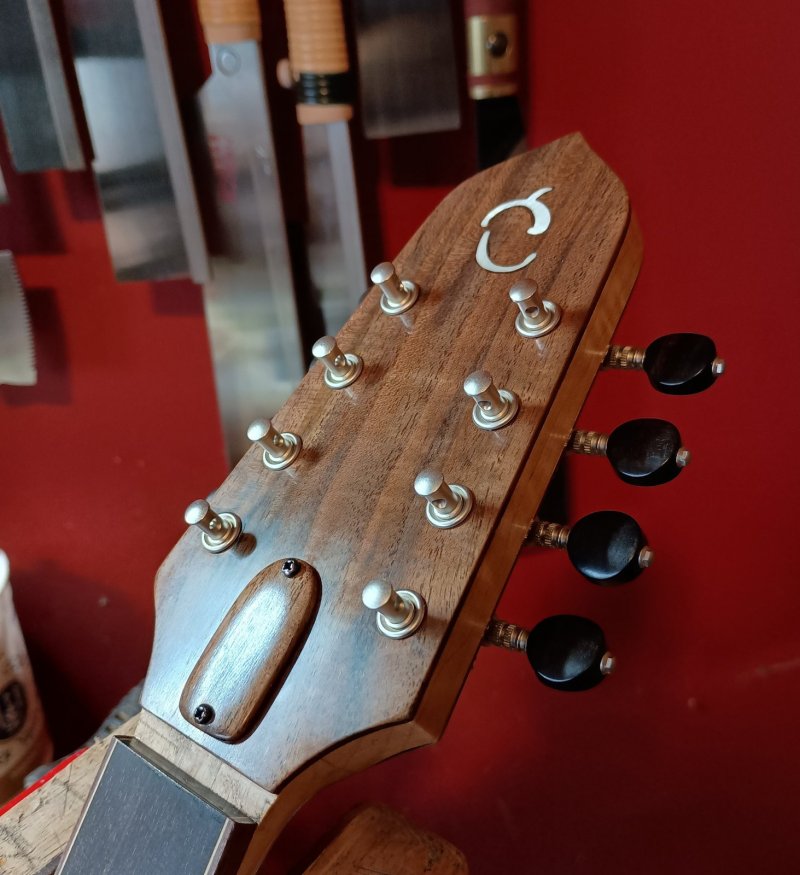
With the divots for the rivets carved out, it was time to polish the headstock and get the ferrules pressed in and the tuners installed. Here's a tip, in case you're ever drilling a blank headstock for new tuners. Size the holes for the ferrules so that they go in within any resistance, but not any wider. After the finish is on, there will be just enough finish in the hole that they will go in with clamping pressure but will be solidly seated. This is for press in bushings only, of course.
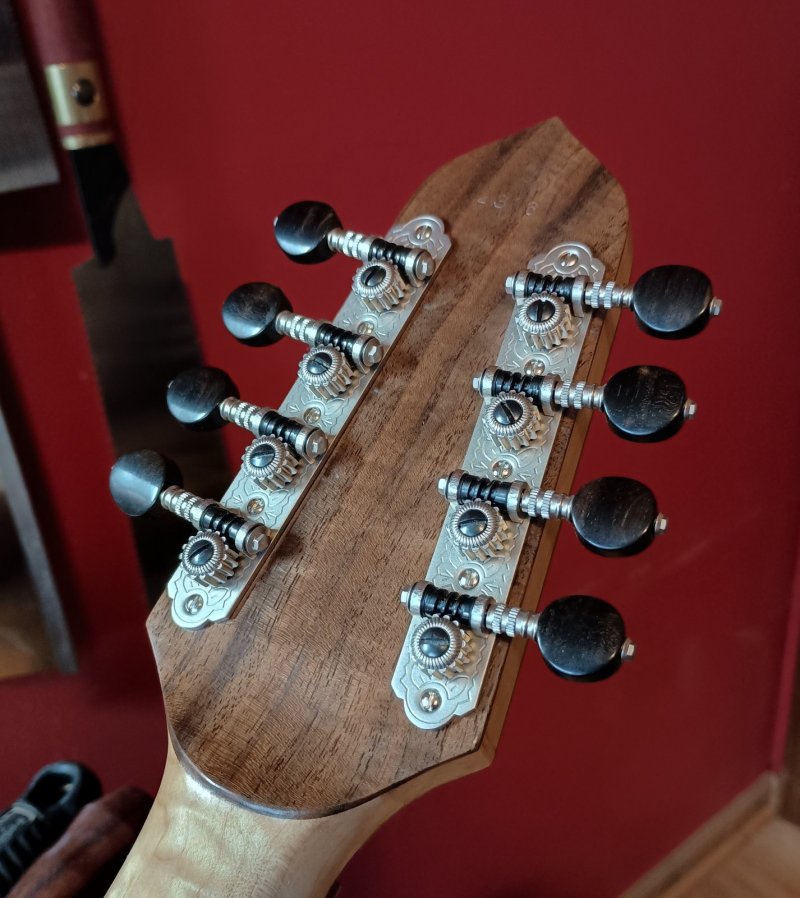
Waxing the screws with a little beeswax is also a good thing. (And no, it wouldn't have helped with the too small hole.) And if anyone knows what "clocking screws" means, (no @Default, it's nothing to do with that!), you might be able to see an example of that here. (Patting myself on the back.)
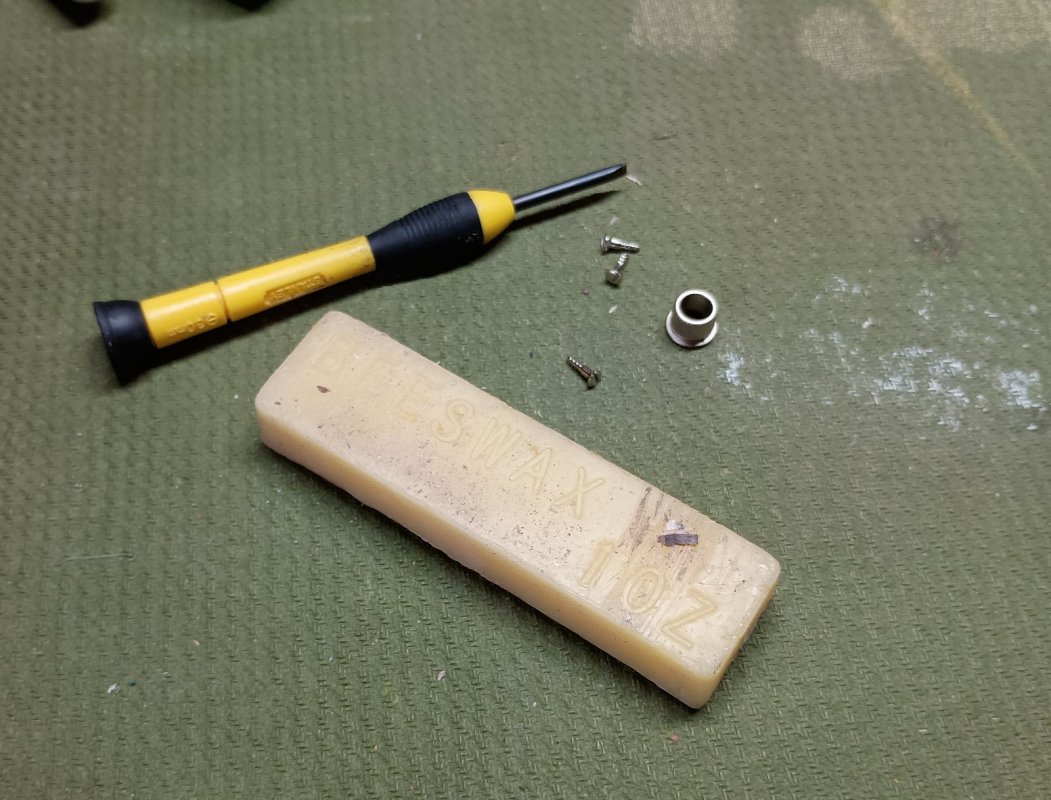
And, aside from the nibs, here's another reason I like Rubners. Extra screws and an extra ferrule. Just in case. (Like if a screw breaks due to user error.)


Waxing the screws with a little beeswax is also a good thing. (And no, it wouldn't have helped with the too small hole.) And if anyone knows what "clocking screws" means, (no @Default, it's nothing to do with that!), you might be able to see an example of that here. (Patting myself on the back.)

And, aside from the nibs, here's another reason I like Rubners. Extra screws and an extra ferrule. Just in case. (Like if a screw breaks due to user error.)

GGJaguar
Reverential Member
I like it! Good for catalog photos and people with OCD."clocking screws"
AcornHouse
Venerated Member
AcornHouse
Venerated Member
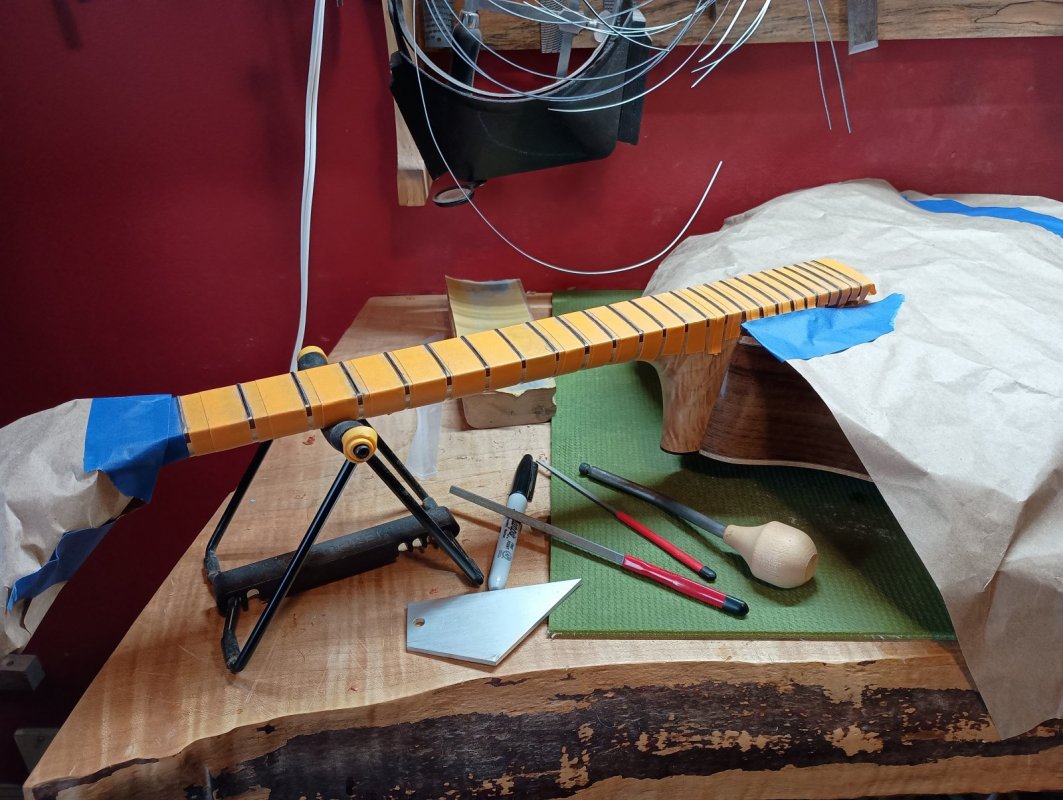
Just waiting for the insurance approval.Looks like a surgical theater with the patient prepped and draped for the procedure.
AcornHouse
Venerated Member
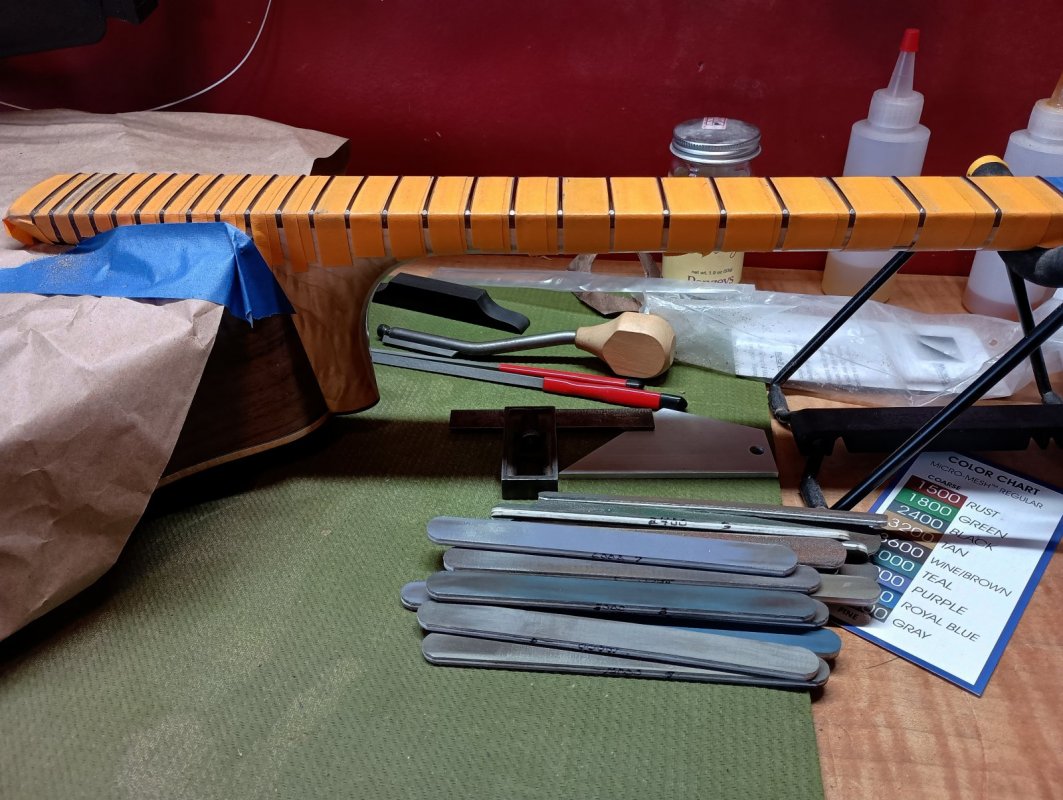
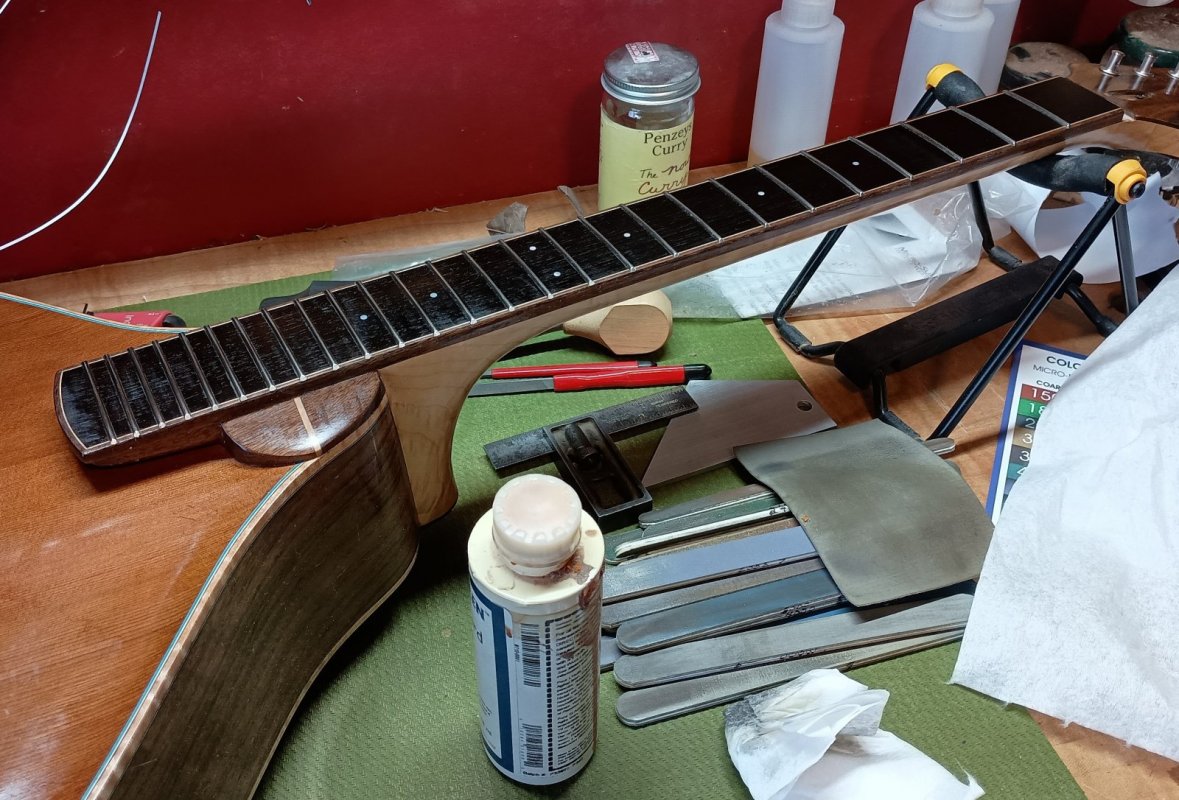
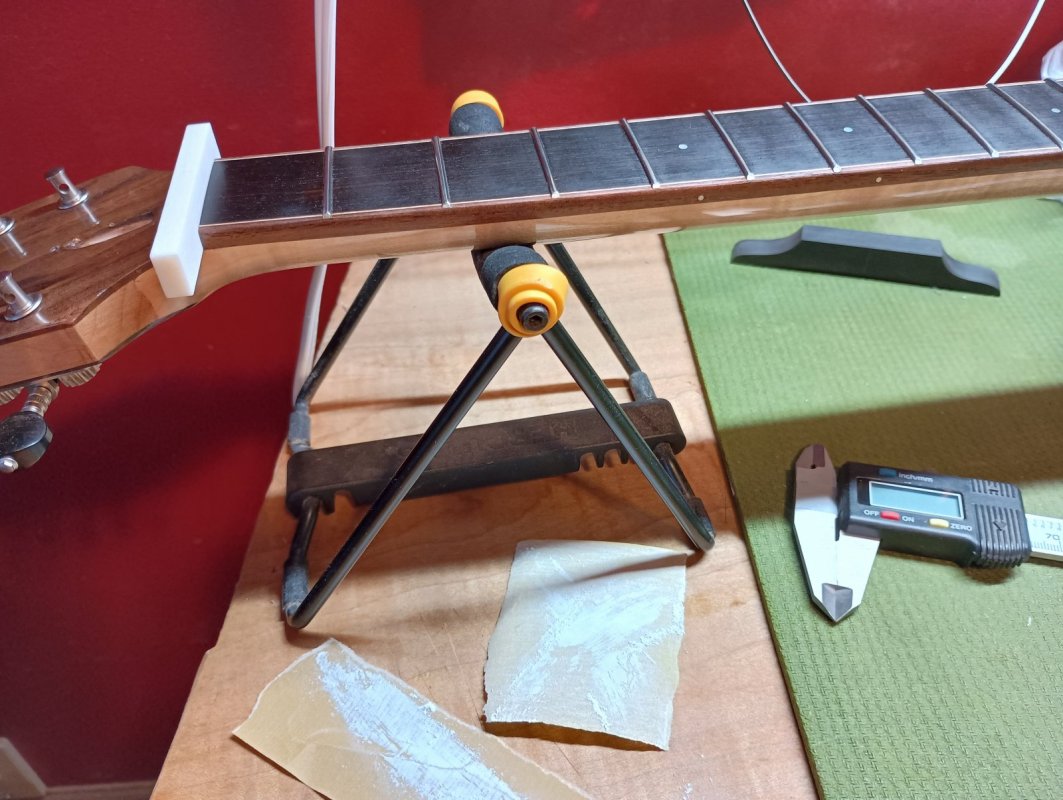
Now that they're all level and crowned; checked and checked again with the fret rocker, I can get to polishing. My weapon(s) of choice are the popsicle shaped MicroMesh sticks. I have two sets of these and over the years their color has become a little harder to match to the chart, as they've faded or picked up fret particles. So I have to go by grit feel sometimes.
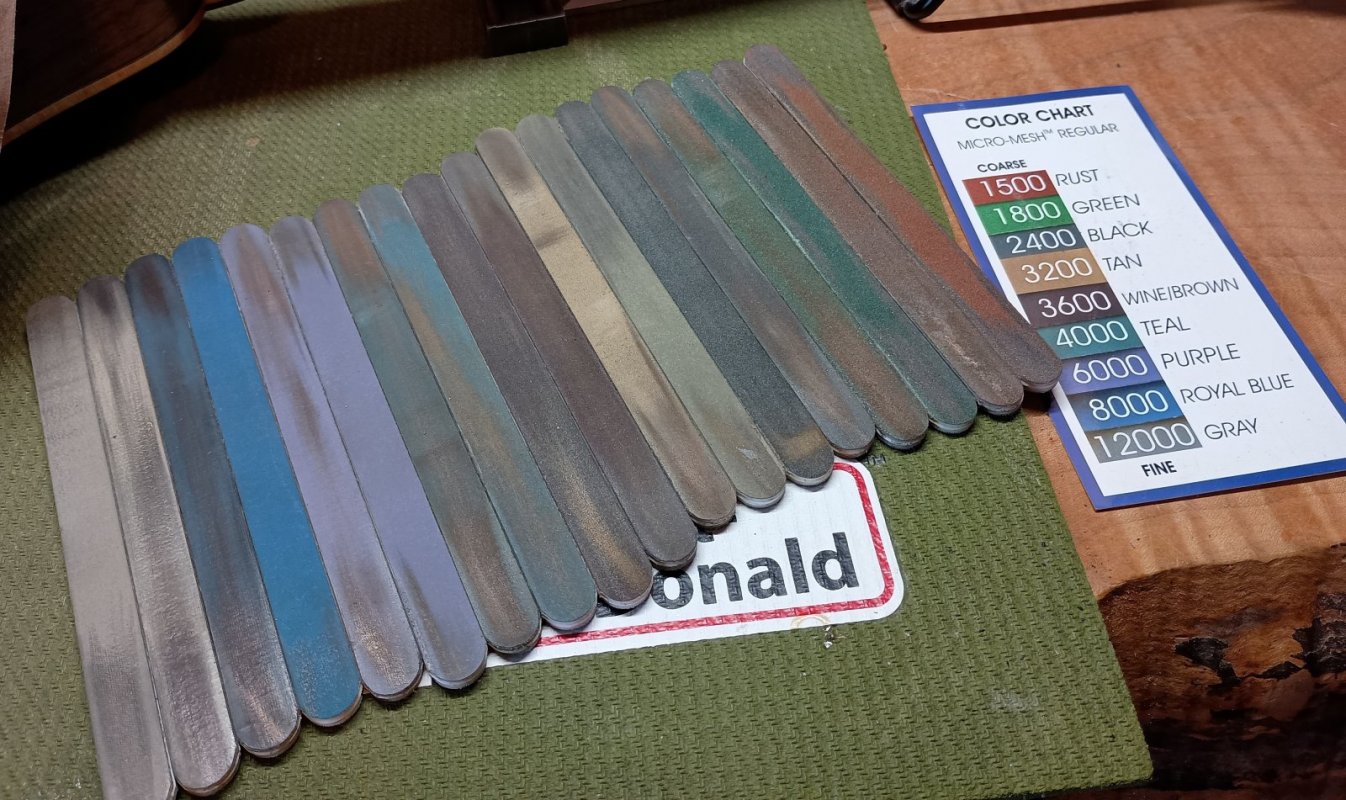
I finally saw a pic posted by someone of the simple idea of writing their grit and order on the sides. (Duh!) Hopefully that lessens the sorting period.
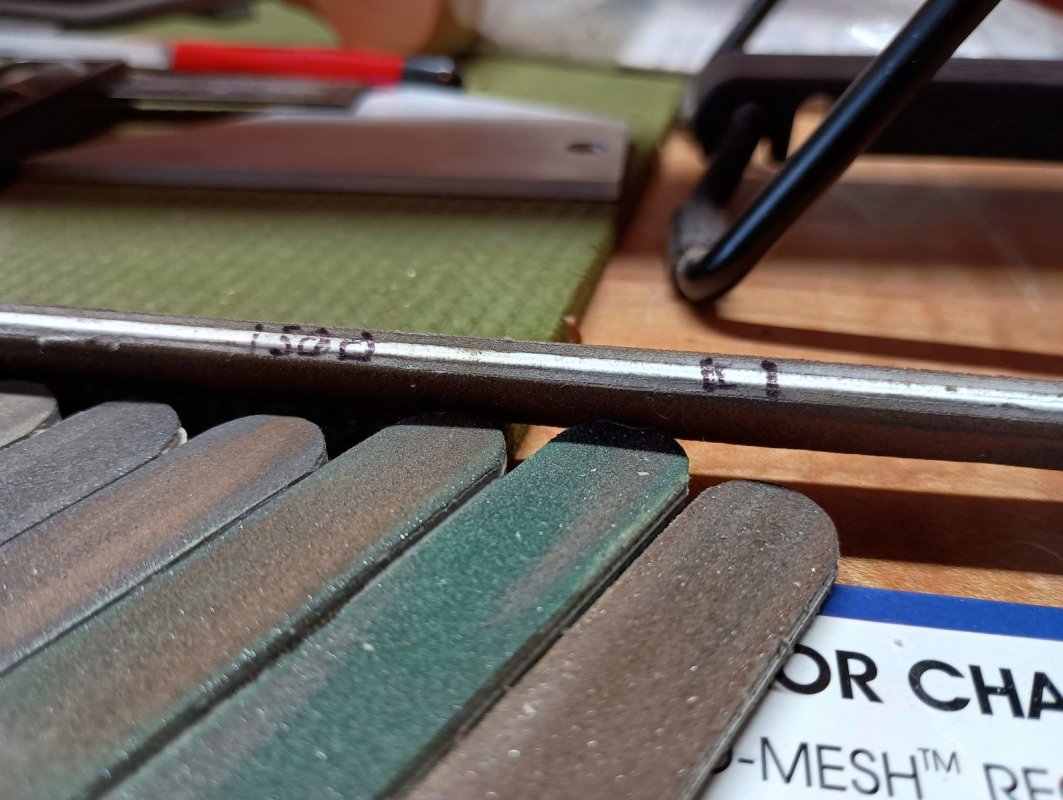

I finally saw a pic posted by someone of the simple idea of writing their grit and order on the sides. (Duh!) Hopefully that lessens the sorting period.

Last edited:
AcornHouse
Venerated Member
AcornHouse
Venerated Member
AcornHouse
Venerated Member
AcornHouse
Venerated Member
- Joined
- Feb 11, 2009
- Messages
- 23,254
- Reaction score
- 19,037
- Location
- NJ (The nice part)
- Guild Total
- 112
Anyone else get sad when they look and there’s no update yet? 
- Joined
- Jul 30, 2007
- Messages
- 13,658
- Reaction score
- 3,088
- Location
- Philly, or thereabouts
- Guild Total
- 11
It has to get by the inspector first.
AcornHouse
Venerated Member
Twas an ALDI morning.Anyone else get sad when they look and there’s no update yet?
Priorities--man gotta eat.Twas an ALDI morning.
Quality, fast, or cheap.
Pick two and it will not be the other
Last edited:
AcornHouse
Venerated Member
Alright, alright. Got my nut vise out, old American cast iron. A #2, as cast in it, I'm curious how small a #1 is! (Assuming it follows the hand plane convention where #1 is the smallest, on up ) I have it mounted, when needed, in my inlay cutting rig, which gets it up nice and high.
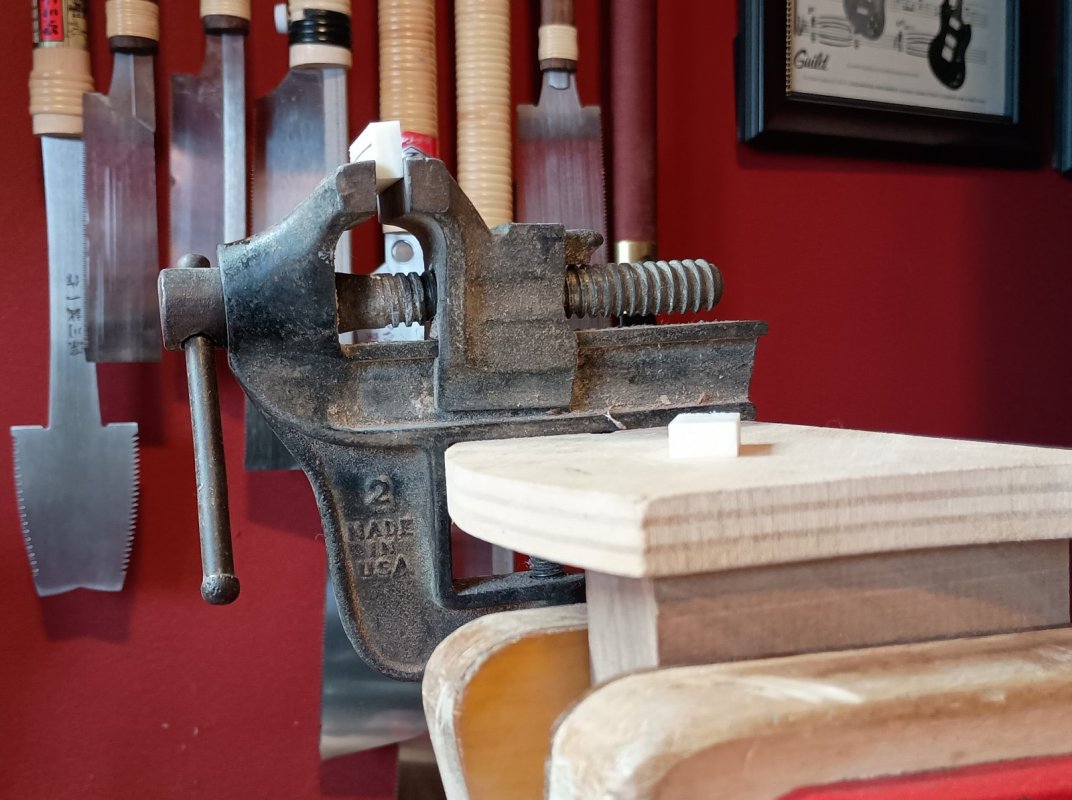
After cutting for length, I cut the blank for height, based on the fret height using a very Hi-Tech device.
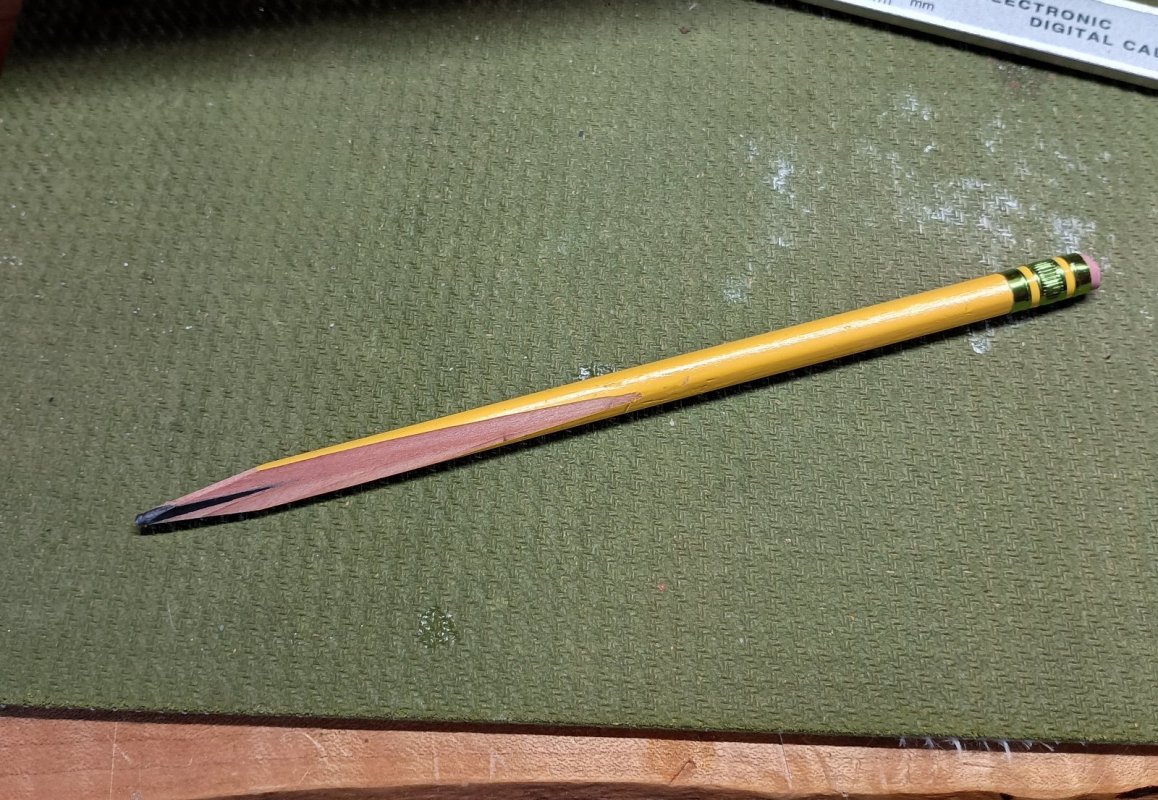
Then my single cut tiger pattern file puts a bevel towards the back and brings it down more. Flashbacks of dental work from the smell.
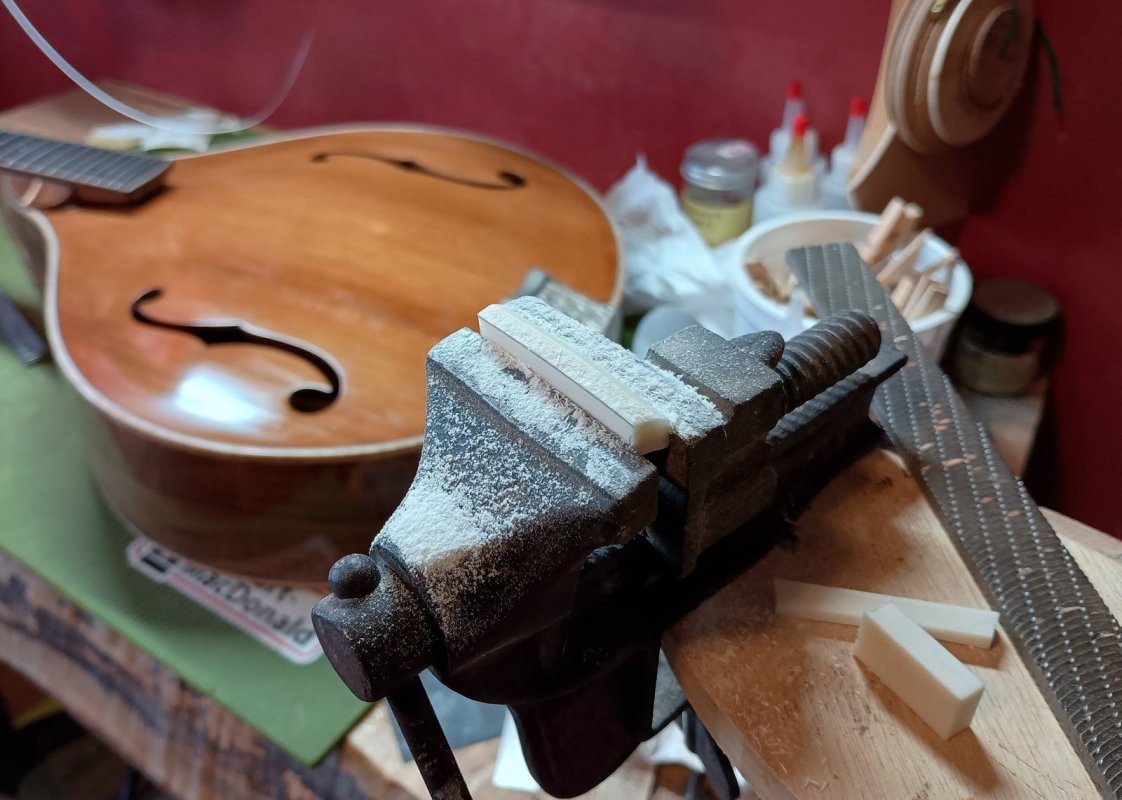
That's gets it into rough shape, ready for sanding.
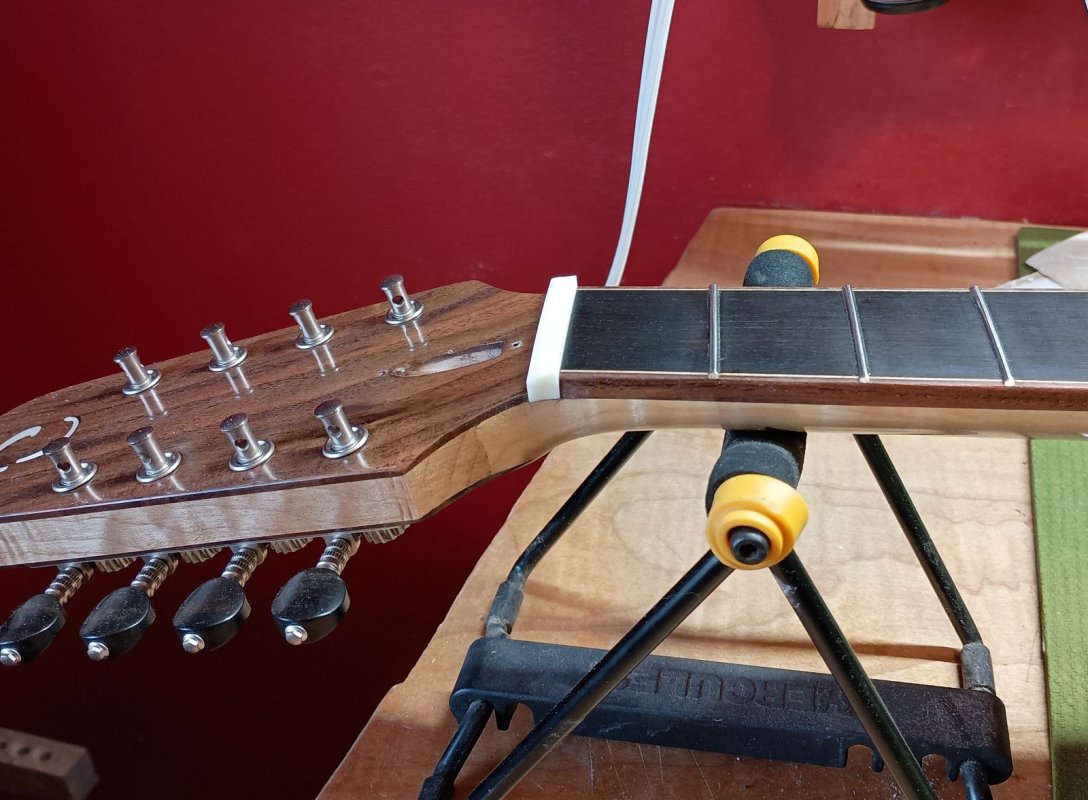

After cutting for length, I cut the blank for height, based on the fret height using a very Hi-Tech device.

Then my single cut tiger pattern file puts a bevel towards the back and brings it down more. Flashbacks of dental work from the smell.

That's gets it into rough shape, ready for sanding.

